Monetize your Open AI Assistant
With Nevermined is possible to monetize any assistant you created via OpenAI. In previous tutorials we showed how to register an AI agent. Now it's time to distribute and monetize a different type of an AI Agent, in this case an OpenAI assistant.
You can't register an OpenAI assistant without first configuring a Payment Plan. So if you skipped that part, please go to the tutorial about How to create a Payment Plan first.
Before you start
Before you start, you need to have the Open AI Assistant ID and the Open AI access token. If you don't have them yet, please follow the steps:
From where can I get the Assistant ID?
The Assistant ID is a unique identifier for your assistant. You can find it in the Assistant dashboard of OpenAI. The Assistant ID is the value starting by asst_ in the ID column. For example: asst_m3hDiBSEScF4vTyeGGJ8JI8T.

From where can I copy Open AI access token?
The Open AI access token or secret API Key is the token that allows to use your assistant remotely. We recommend to create a new one from the OpenAI API Keys page.
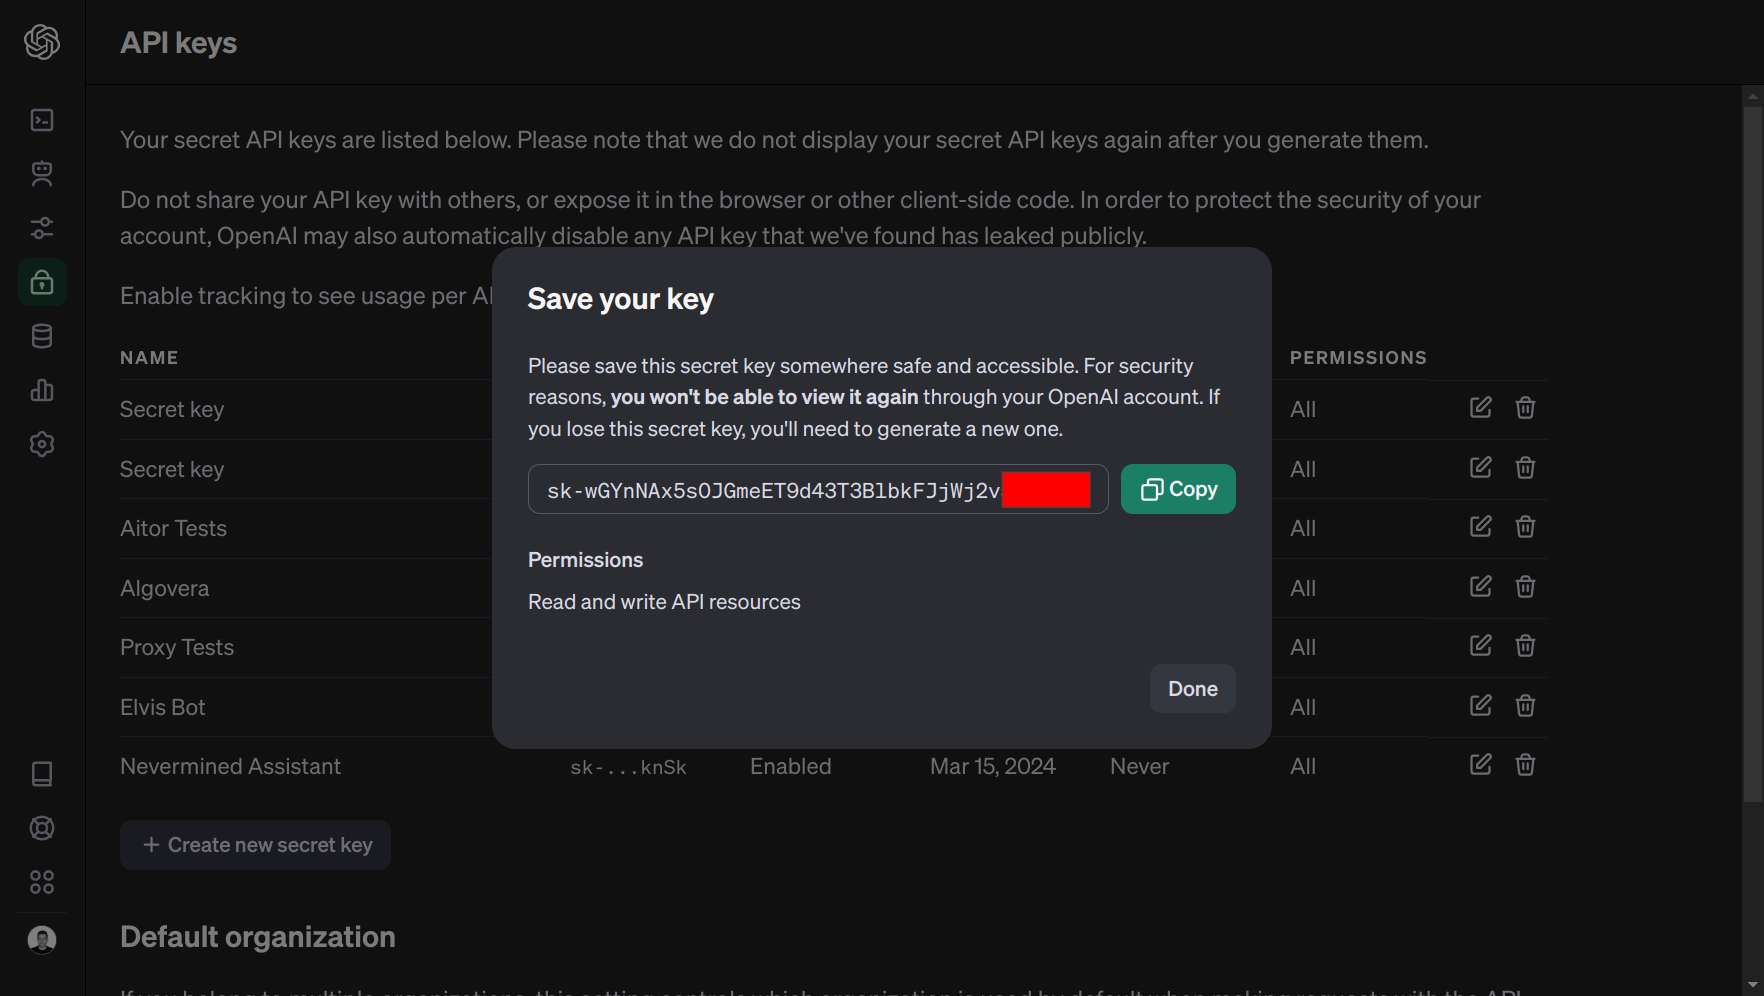
The OpenAI access token is private and encrypted. It will never be shared with anyone.
How to register an OpenAI assistant
These are the steps to make your assistant accessible to Users that buy your Payment Plan.
1. Open the New Asset page
- Click on the New button in the top right to go the New Asset page.
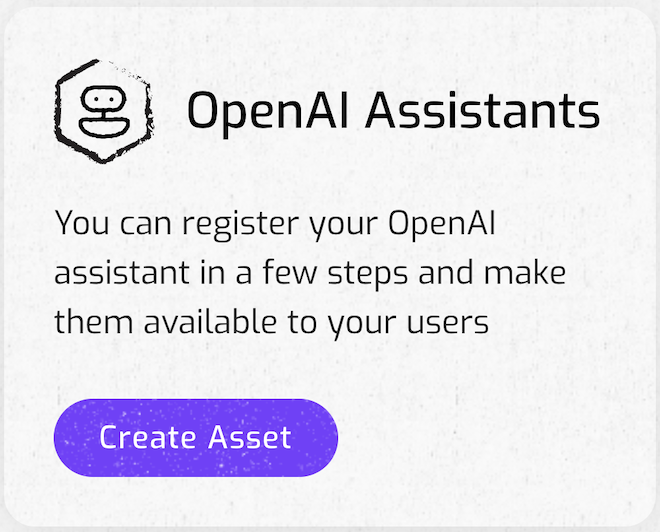
- Click on the “Create Asset” button of the "OpenAI Assistants" box.
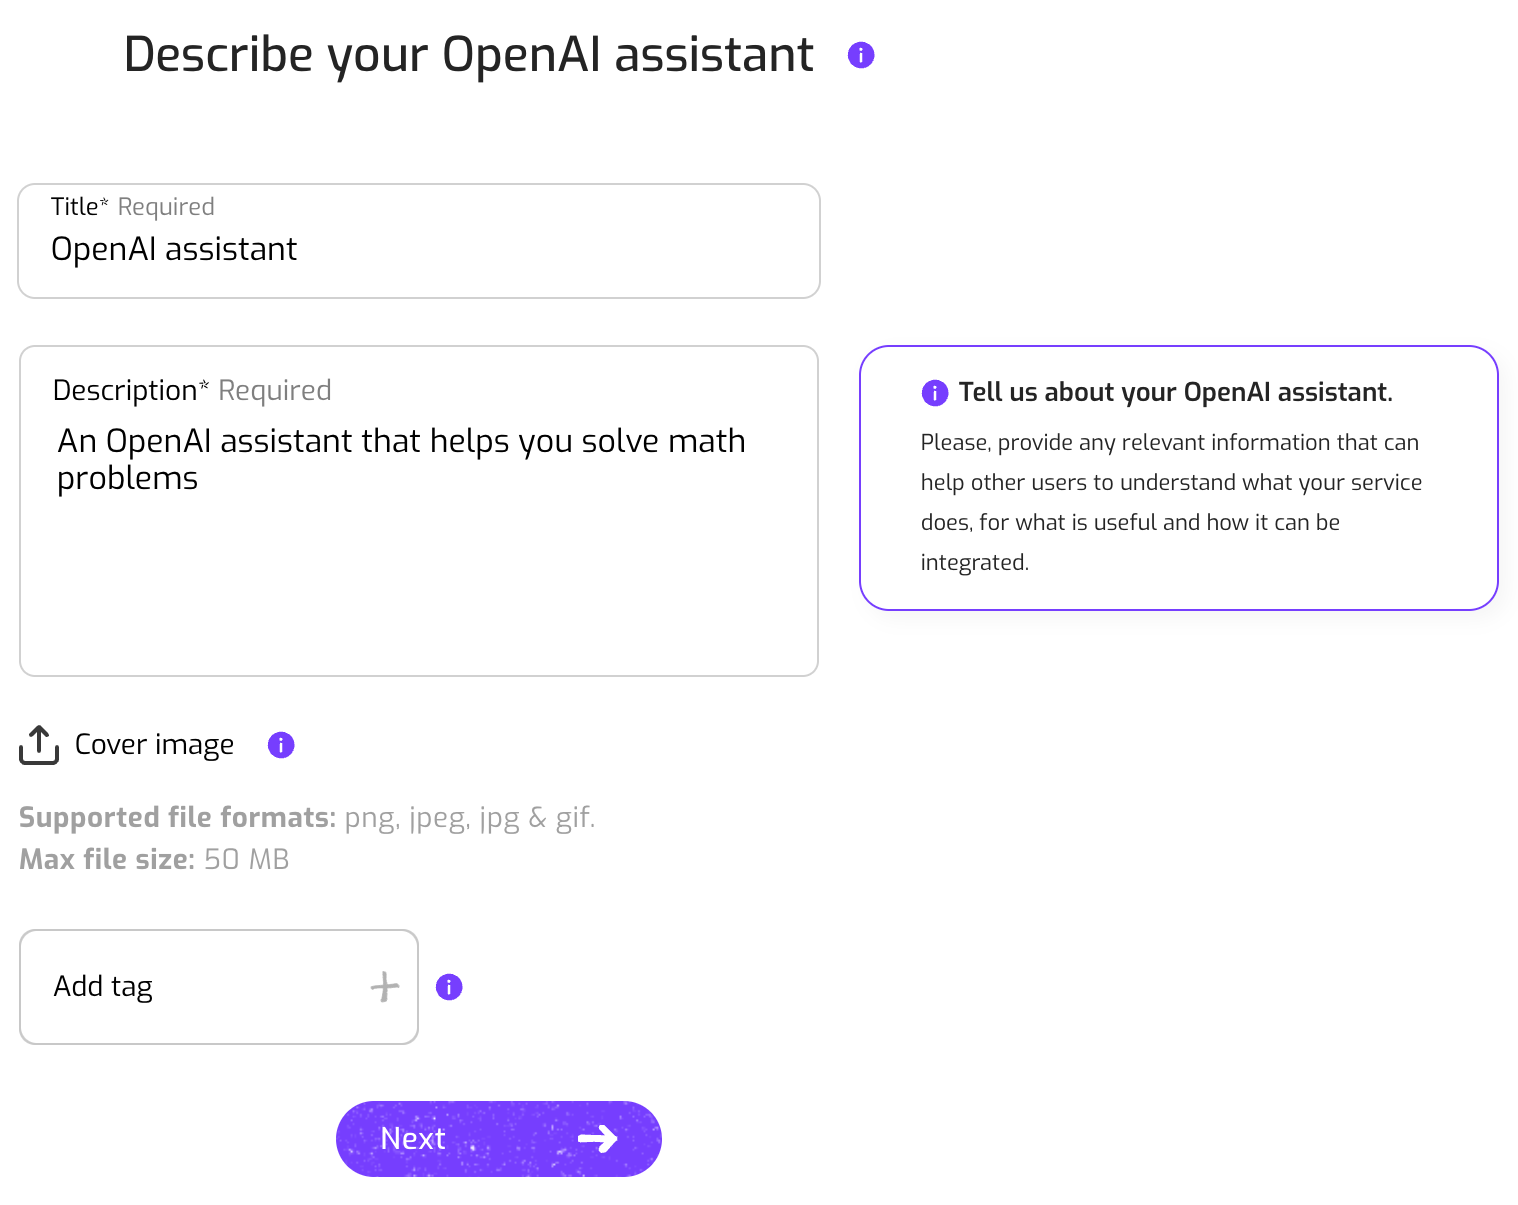
2. Describe the OpenAI assistant with metadata
Provide a short title
Add a description
Use the description box to explain to potential users what your assistant is about. Some examples:
- An OpenAI assistant that helps you solve math problems...
Include tags (optional)
Add tags to help search for your OpenAI assistant. Click the '+' symbol to add new tags.
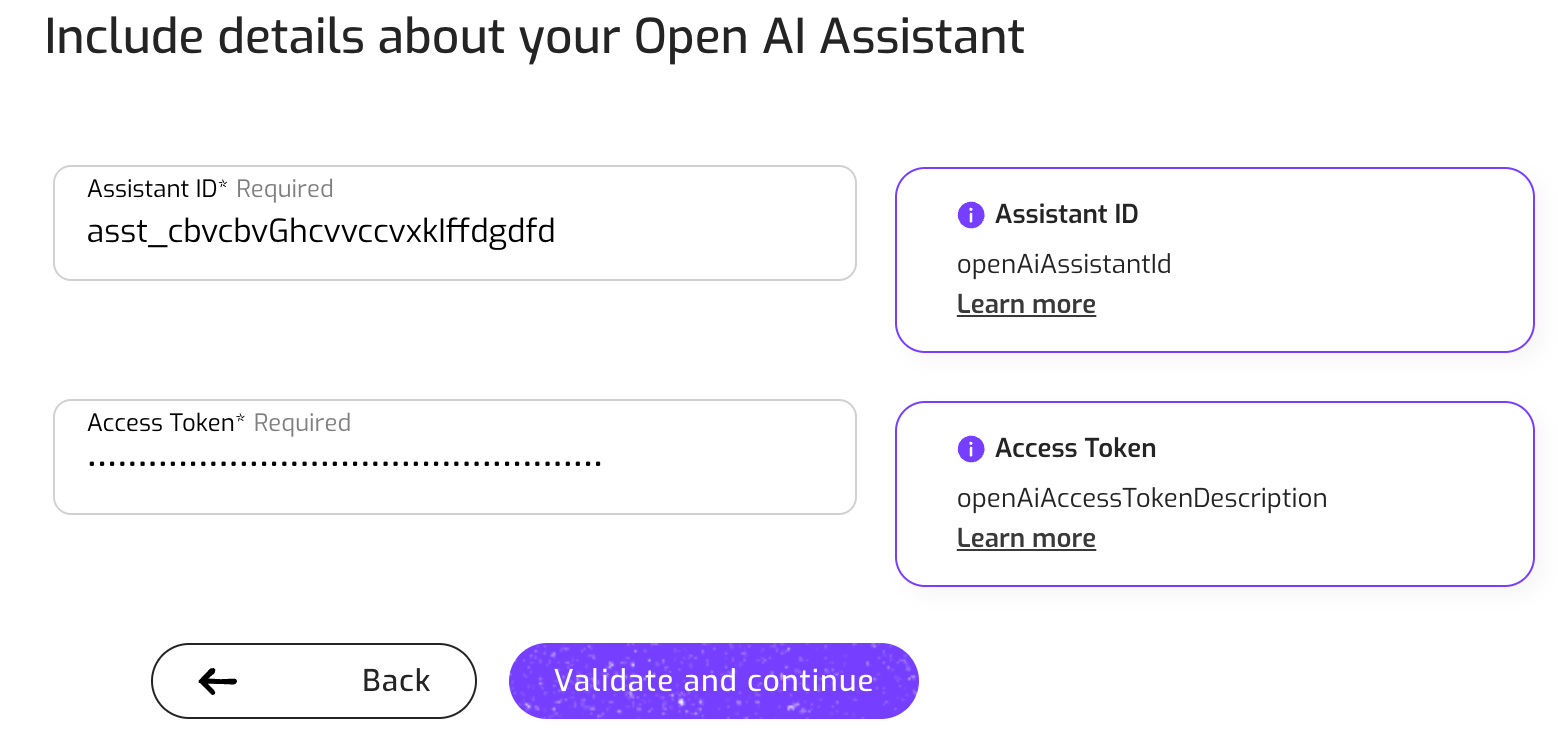
3. Define the attributes of the OpenAI assistant
In this second step you need to provide the required assistant ID and the access token of your OpenAI agent. Please follow these steps on How to create an OpenAI agent
PLEASE NOTE: Your authentication information is encrypted and will always be kept private. Nevermined, nor anyone else, will never have access to this information.
4. Add integration instructions
Give specific info about how other Builders can integrate your OpenAI assistant. This information is optional. For example:
- How to write queries
- Format
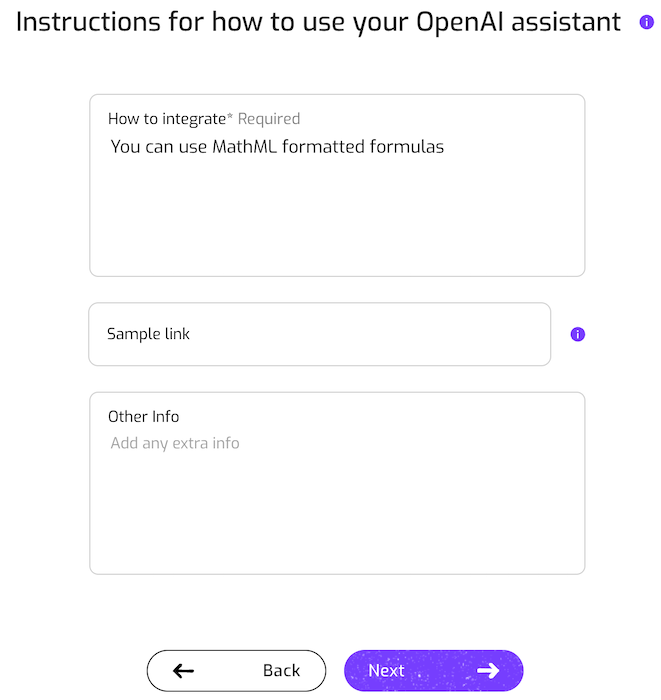
5. Choose a Payment Plan
Next, you need to specify which Payment Plan a user needs to purchase to get access to the OpenAI assistant.
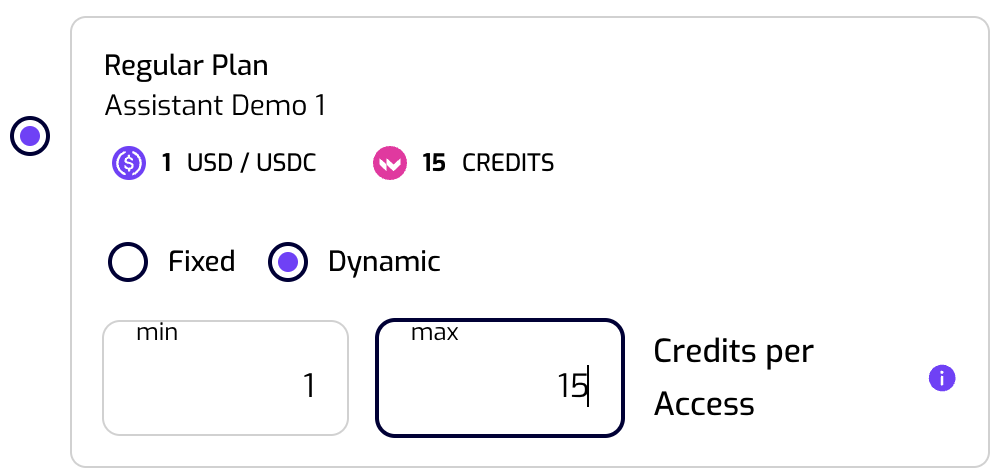
If the subscription is Limited by usage, you will need to specify how many credits are consumed every time a user accesses the OpenAI assistant. This is very useful to protect your OpenAI assistant against overuse.
If you want your assistant to be available via different plans, you can go through this process once more. Register the OpenAI assistant again and add it to another Payment Plan. For now ;-)
6. Review that everything is okay
Finally, review your assistant subscription. Click on “Create” if everything looks good. Or go “Back” if you want to modify anything.
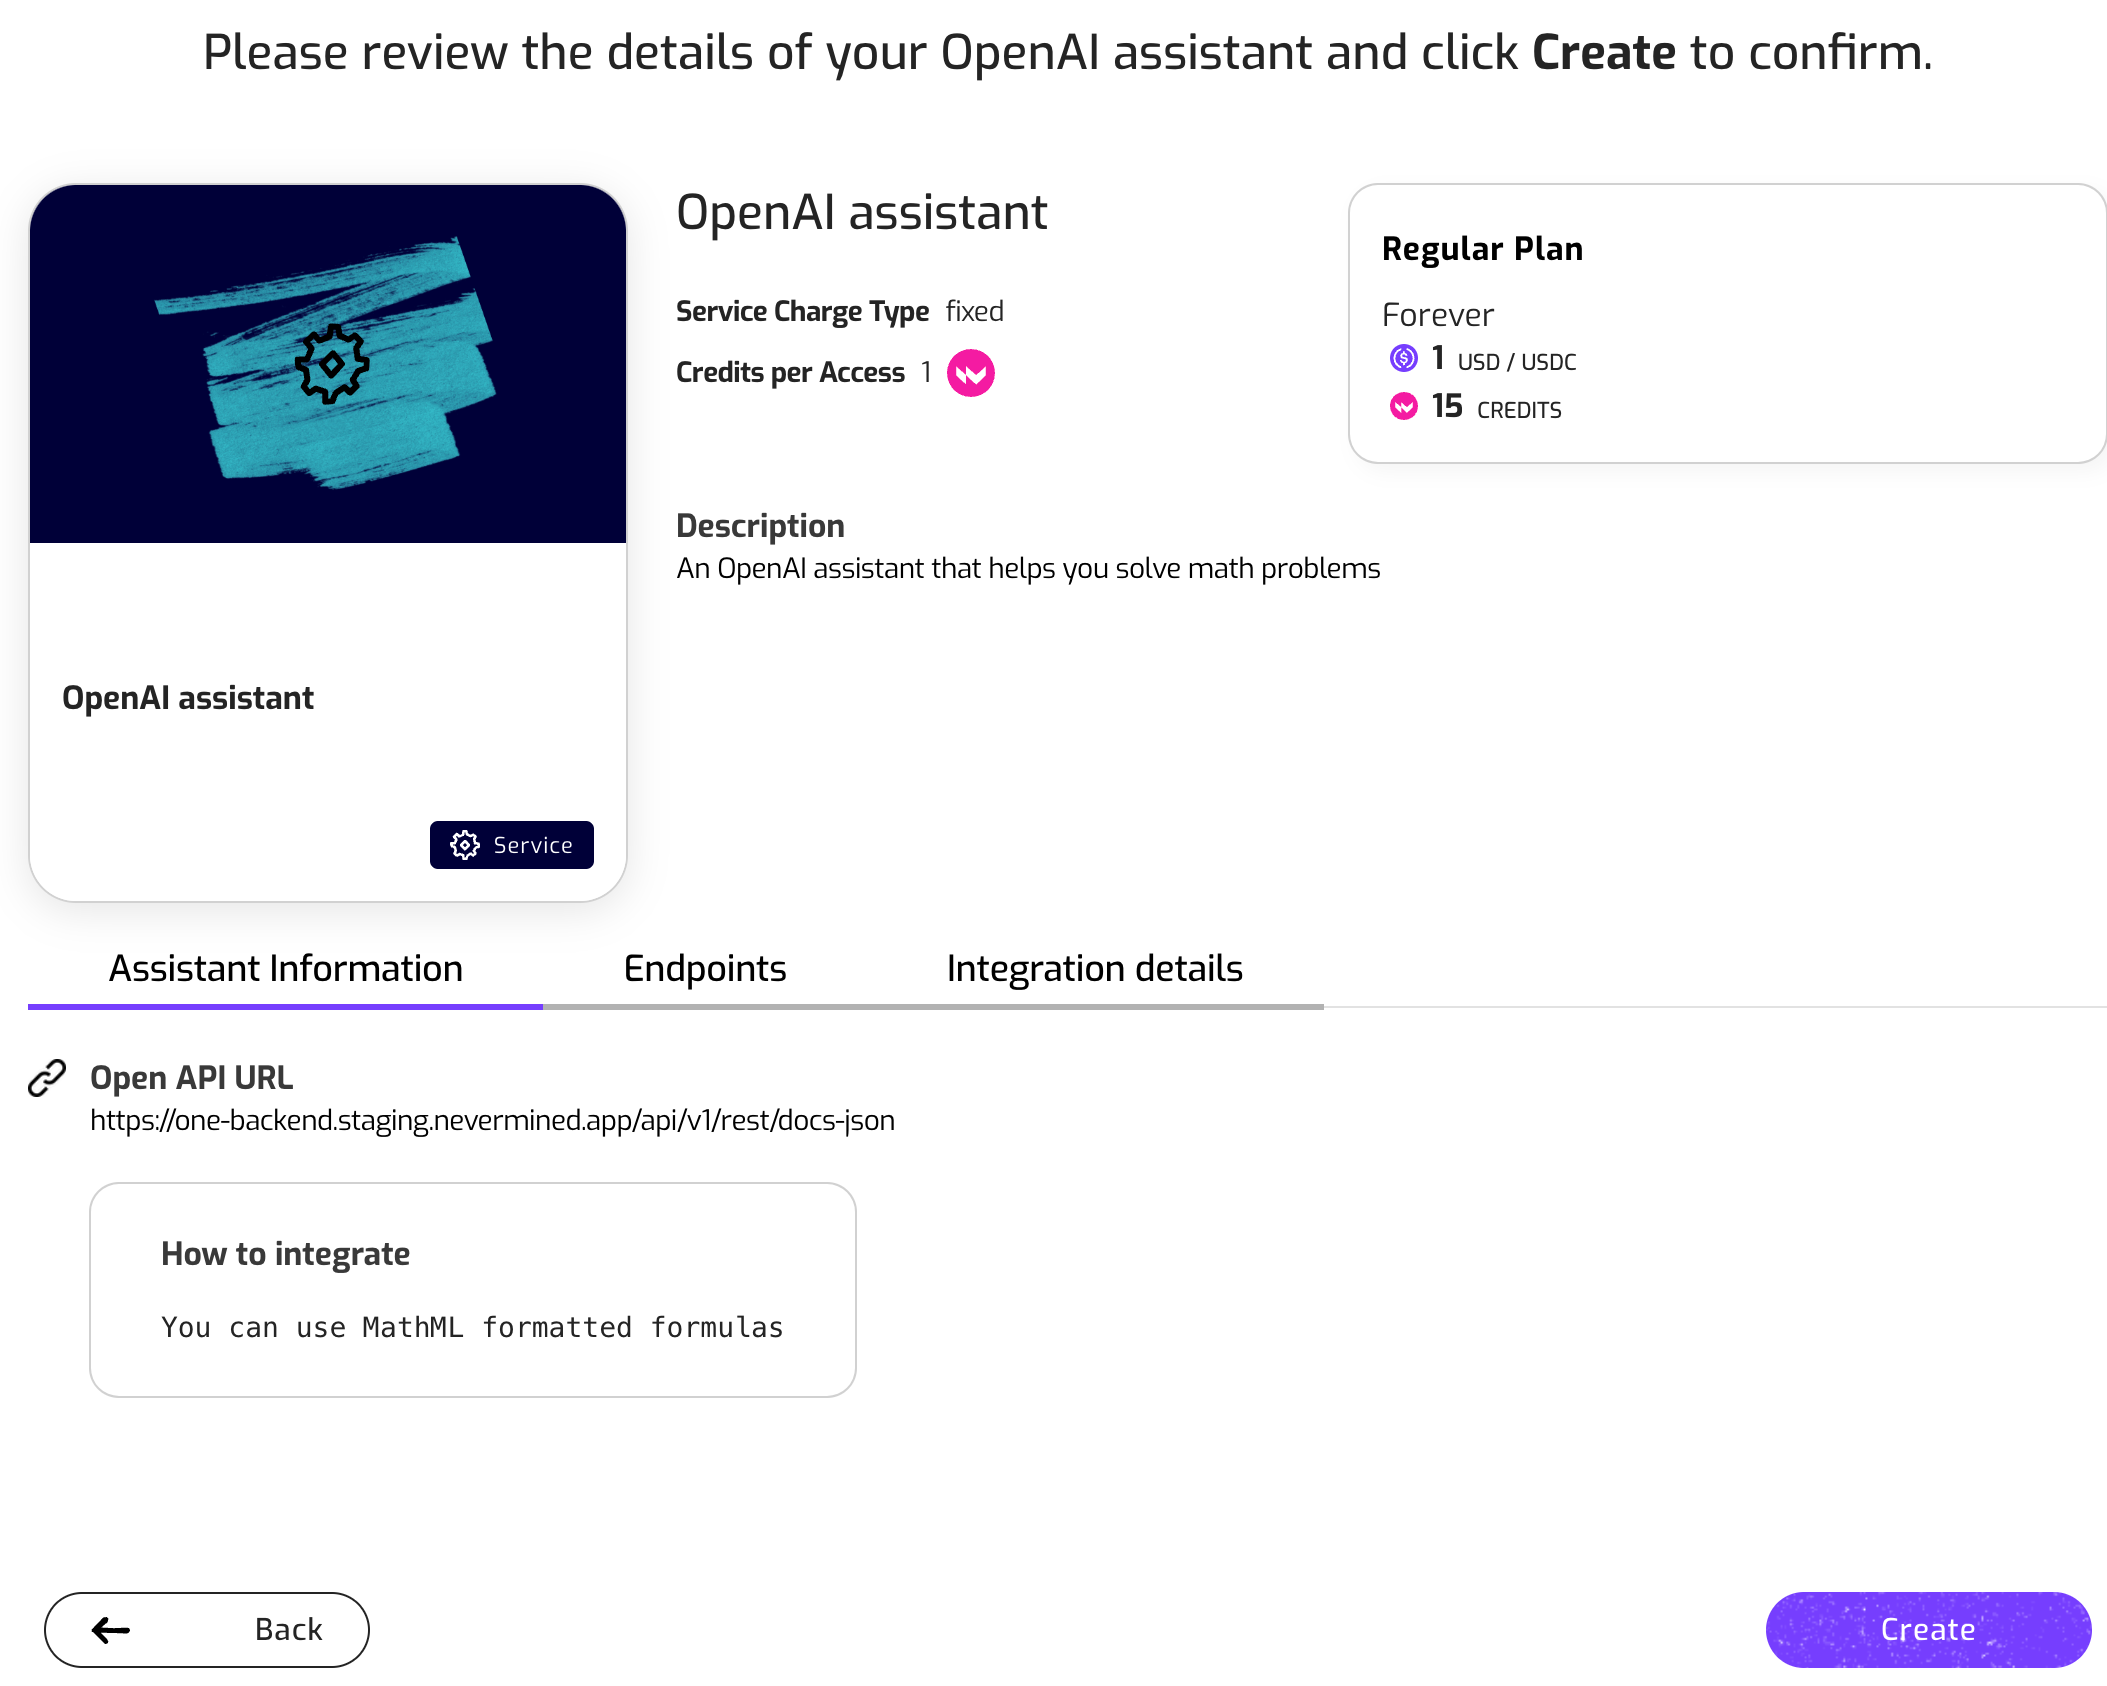
7. Assistant registration
The Nevermined App will register the new OpenAI assistant. This will take just a few seconds and once it's done, you will see a success message.
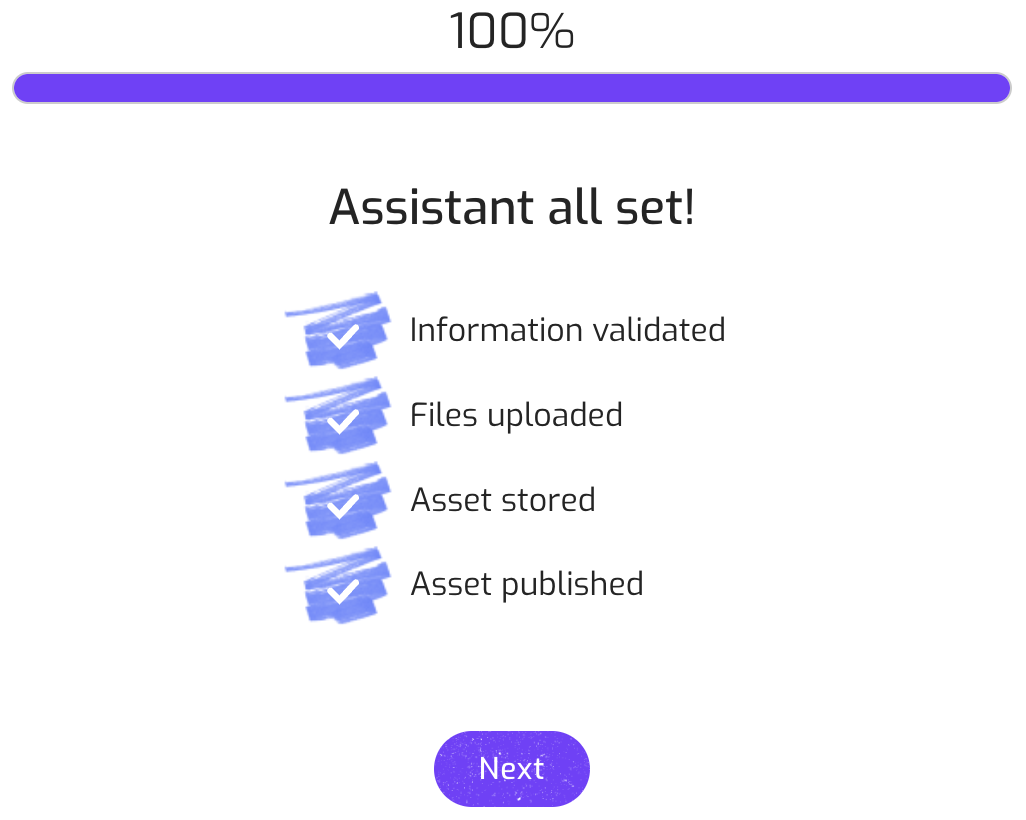
You’re done!
If you are interested on promoting your new OpenAI assistant and make some money, please go to the tutorial about How to distribute your AI services and files and make some money?.