How to register your AI web service and link to a Smart Subscription
In a previous tutorial we showed how to create a Smart Subscription. Here we go through the required steps of registering a new AI web service and linking it to your Smart Subscription. User who purchase a subscription will get access to the AI web service that is included in the subscription plan.
You can't register an AI Service without first configuring a Smart Subscription. So if you skipped that part, please go to the tutorial about How to create a Smart Subscription first.
If you don't want to read the whole tutorial, you can watch the video tutorial:
How to register an AI web service
These are the steps to make your web service accessible to Users that buy your Smart Subscription.
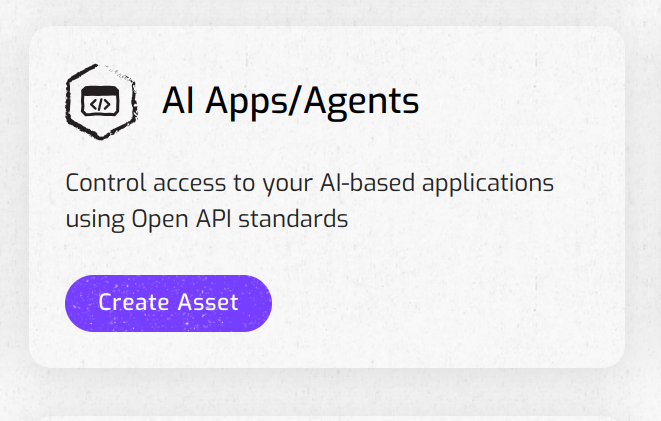
1. Open the New Asset page
- Click on the New button in the top right to go the New Asset page.
- Click on the “Create Asset” button of the "AI Apps/Agents" box.
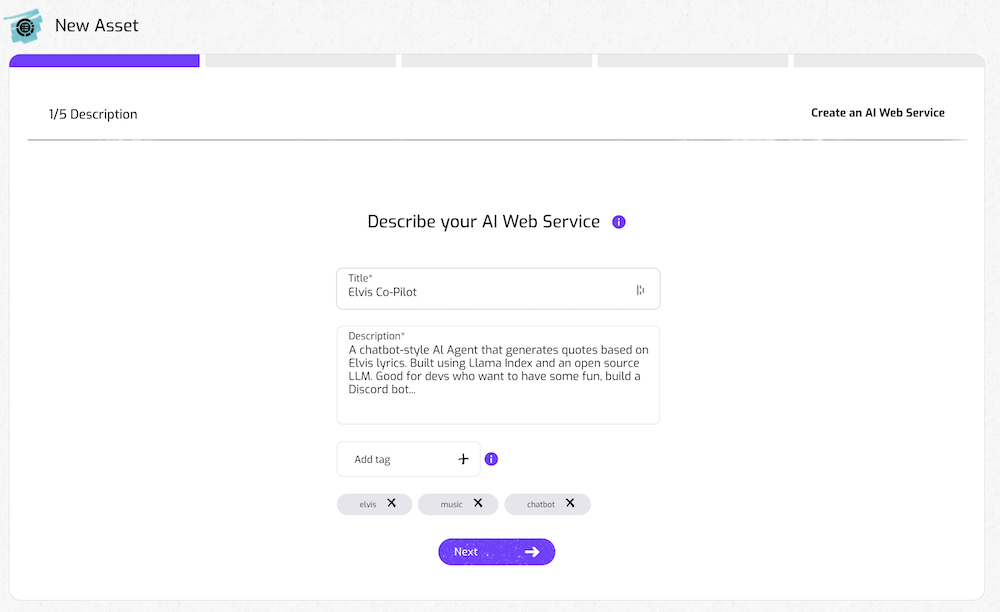
2. Describe the AI service with metadata
Provide a short title
Add a description
Use the description box to explain to potential users what your web service is about. Some examples:
- An open source summarizer specialised in scientific research
- A chatbot-style AI Agent that generates quotes based on Elvis lyrics. Built using Llama Index and an open source LLM. Good for devs who want to have some fun, build a Discord bot,...
Include tags (optional)
Add tags to help search for your AI Web Service. Click the '+' symbol to add new tags.
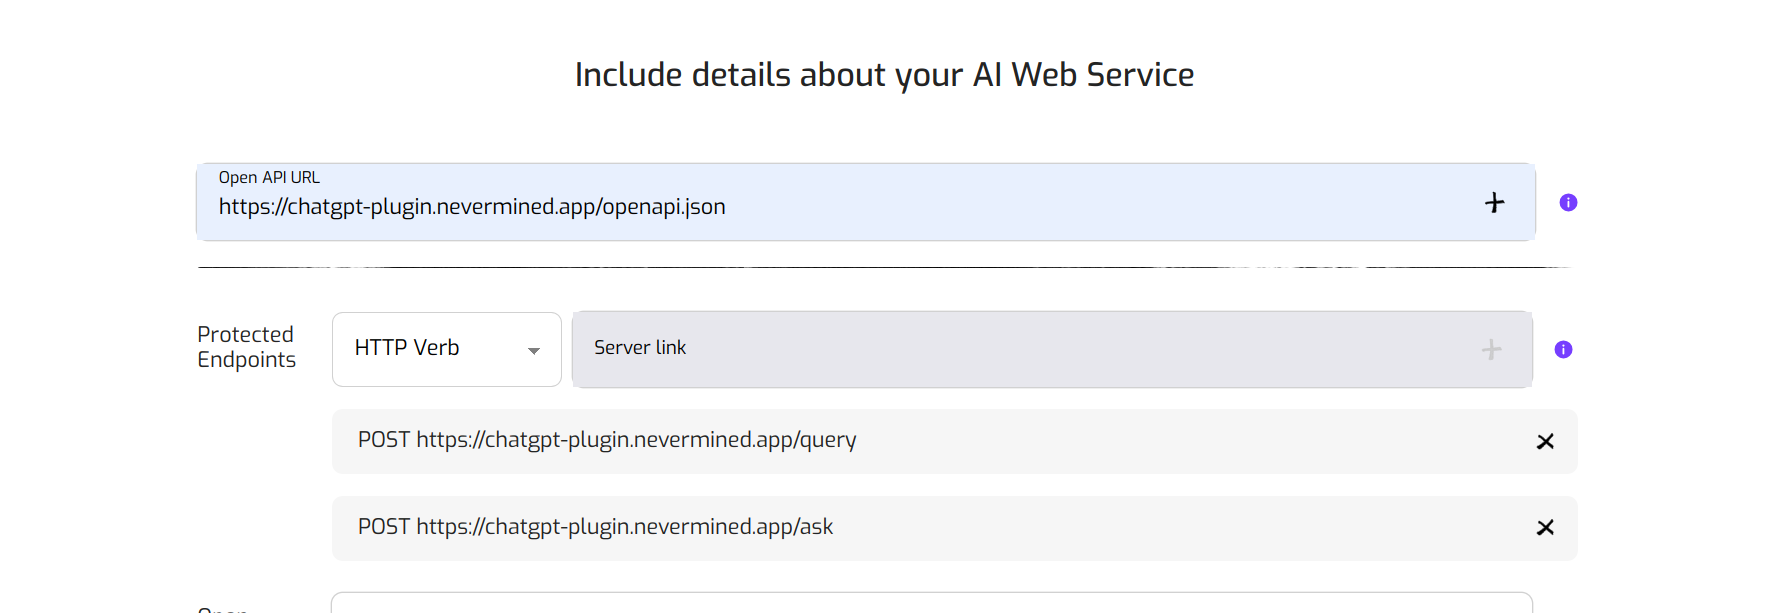
3. Define the attributes of the AI service
In this second step you need to provide the endpoint URLs of your AI Web Service and the authentication credentials to access the service.
Include OpenAPI document
You can use OpenAPI integration to import the information about the endpoints automatically. Make sure that when you are developing the service that the technology or framework you are using enables the generation of documentation for your API's endpoints according to the OpenAPI specifications.
Add the Url of the OpenAPI document, and when you click on the “+” button, the App will import the information of the endpoints. Use the “-” button if you want to remove some of endpoints imported.
Include the endpoint URL
If your service does not provide an OpenAPI documentation, you can add the endpoints manually. Just add one or more endpoint API of your AI service or agent (e.g. https://myapi.example.com/v1) using the “+” button.
Note that you can use this URL field to specify regular expressions. This can be useful when you want to expose multiple links at once. For example:
https://myapi.example.com/(.*) will expose all the endpoints under the same domain.
Also you can write URLs with tokens like https://myapi.example.com/user/{userId} or https://myapi.example.com/user/:userId, however it will be transformed to wildcard like this example https://myapi.example.com/user/(.*)
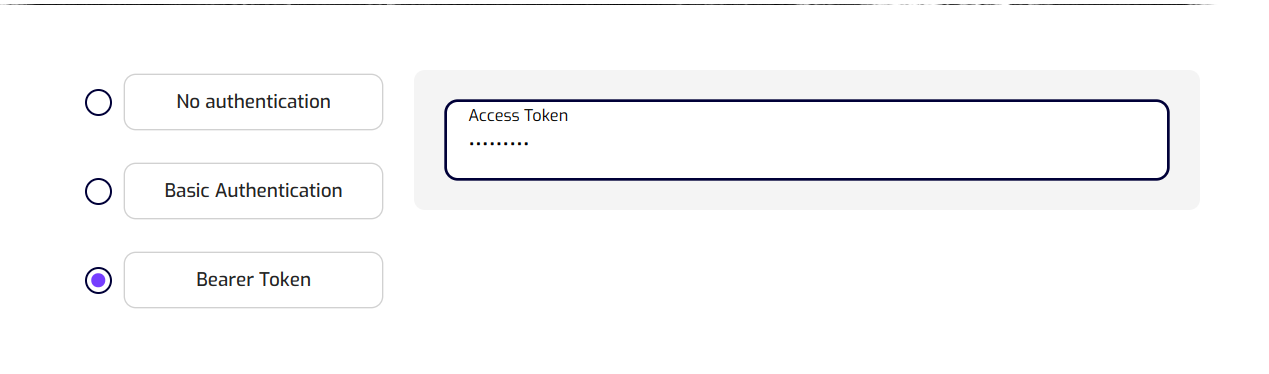
Add the access token
In case the endpoints of your AI Service are protected with an authentication token or a user/password mechanism, you need to add this information.
PLEASE NOTE: Your authentication information is encrypted and will always be kept private. Nevermined, nor anyone else, will never have access to this information.
Nevermined can protect the access to a web service that uses a HTTP Bearer token or user/password mechanism for authentication.
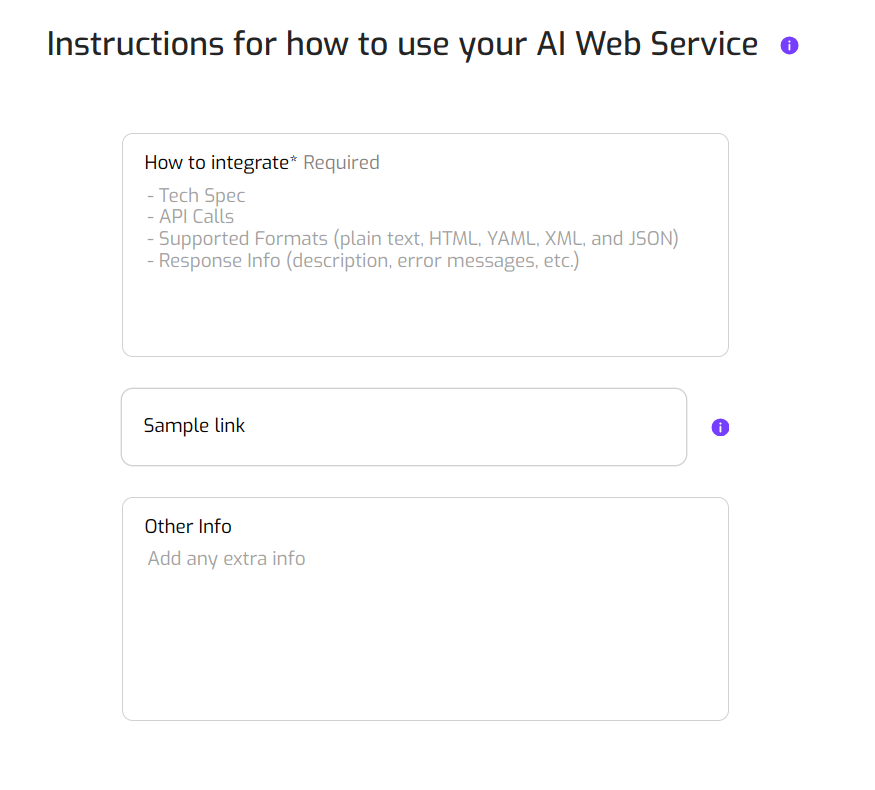
4. Add integration instructions
Give specific info about how other Builders can integrate your AI Service. This information is optional. For example:
- Tech Spec
- API Calls
- Supported formats
- Response info (error messages etc)
5. Choose a Smart Subscription plan
Next, you need to specify which Smart Subscription a user needs to purchase to get access to the AI service.
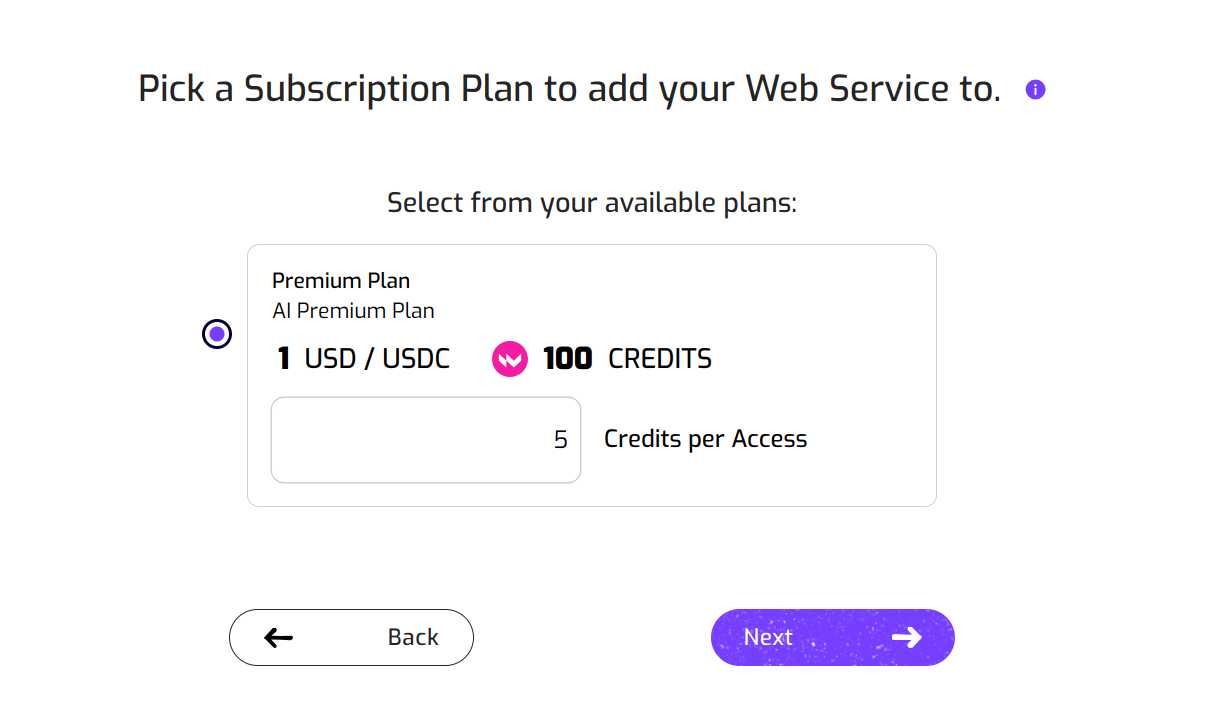
If the subscription is Limitted by usage, you will need to specify how many credits are consumed every time a user accesses the AI service. This is very useful to protect your AI service against overuse.
If you want your web service to be available via different plans, you can go through this process once more. Register the AI Web Service again and add it to another Smart Subscription plan. For now ;-)
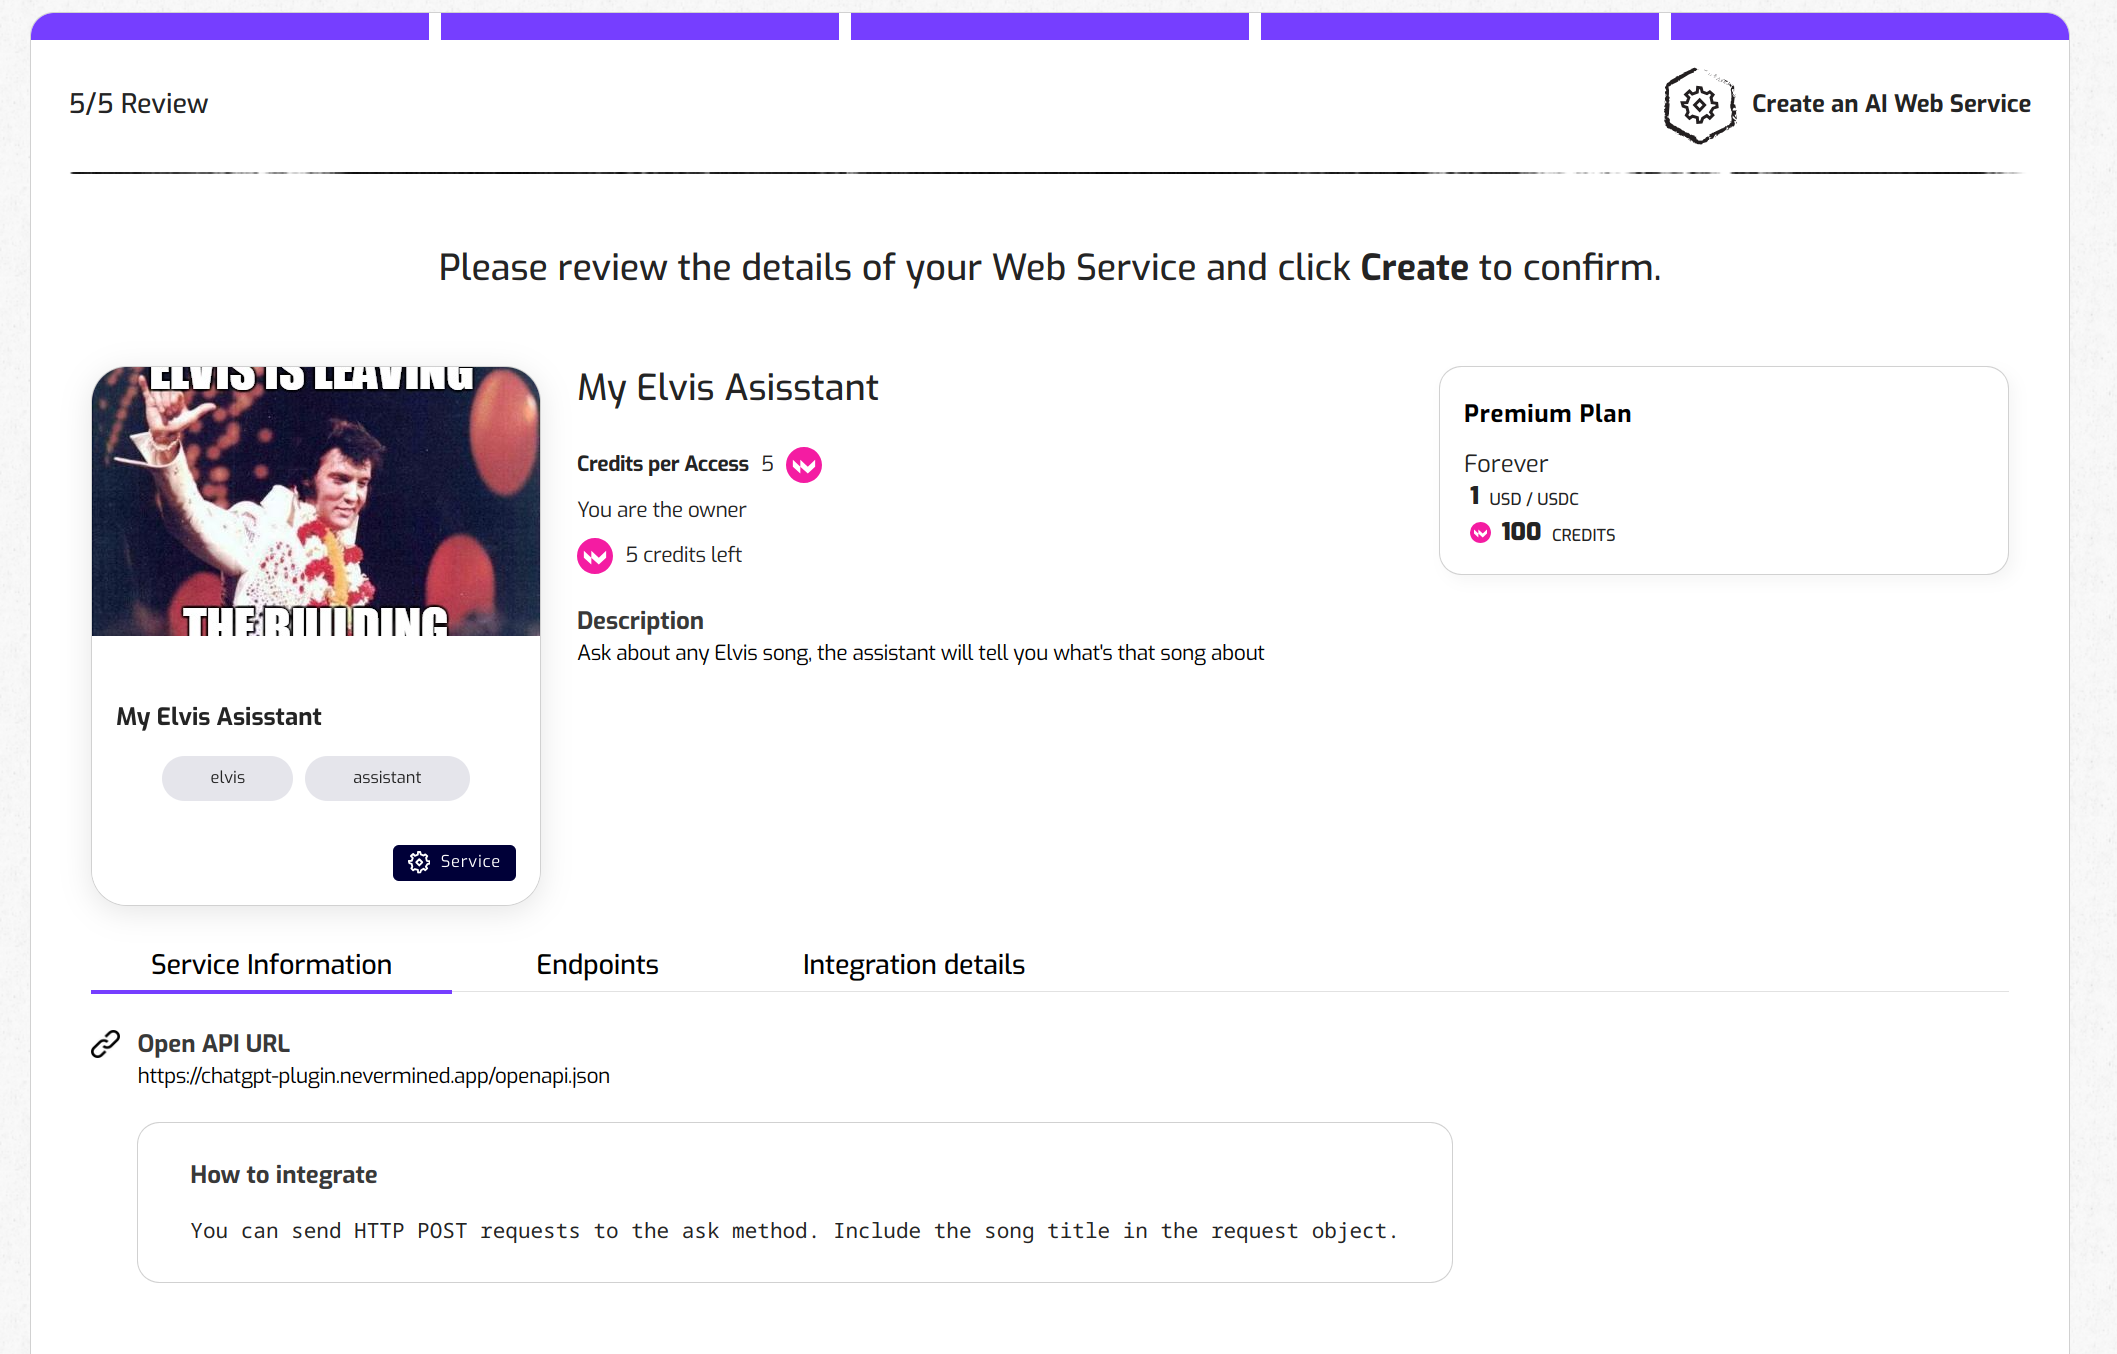
6. Review that everything is okay
Finally, review your web service subscription. Click on “Create” if everything looks good. Or go “Back” if you want to modify anything.
7. Web service registration
The Nevermined App will register the new AI service or agent. This will take just a few seconds and once it's done, you will see a success message.
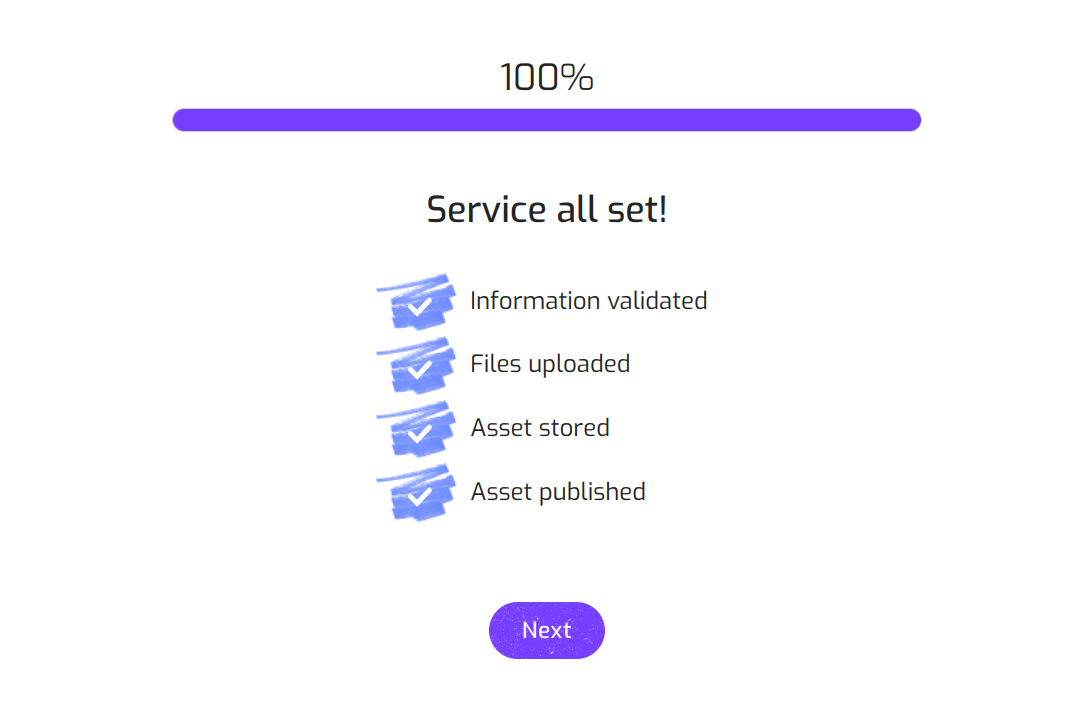
You’re done!
If you are interested on promoting your new AI Service and make some money, please to the tutorial about How to distribute your AI services and files and make some money.